
Adding Coveo Headless Search to XM Cloud
Using Context, State Management, and Sitecore Data Sources for Flexible Search Experiences

In this post, we’ll walk through how to integrate Coveo Headless into an XM Cloud project using a pattern similar to the one I described in SXA Tags and Item Listings. The goal is to give content authors the ability to configure search filters entirely from Sitecore, while keeping all of the state management and API calls contained in React.
This approach allows editors to:
- Configure search facets directly in Sitecore settings.
- Add and remove filters without code changes.
- Control search behavior through rendering data sources.
The Goal
We’ll build a Search Container component with two main placeholders:
- Filters – where content authors can add Automatic Search Filters, Manual Search Filters, and Free Text Search components.
- Search Main – where the Search Results component will render.
On the Sitecore side, we’ll set up facet items under site settings and allow the Automatic Search Filter to bind directly to those facets. In React, we’ll handle all of the Coveo Headless logic with shared state through context.
Sitecore Setup
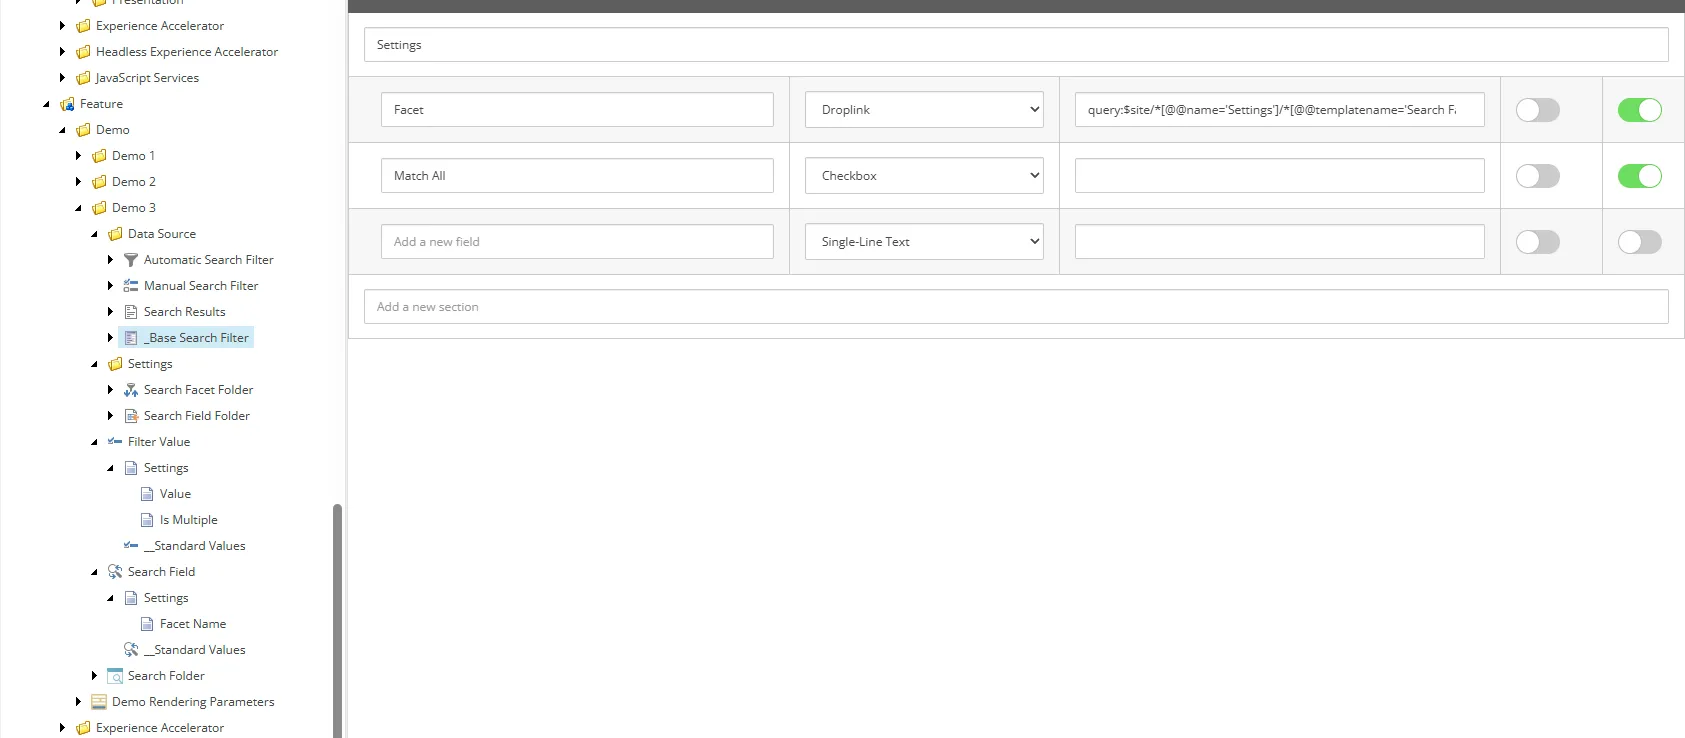
In /sitecore/templates/Feature/Demo/Demo 3, we have:
_Base Search Filter– contains the title field and a Facet field pointing to a Search Field item under Search Facet Folder in site settings. Here is an example query for the Facet Field in the templatequery:$site/*[@@name='Settings']/*[@@templatename='Search Facet Folder']/*Automatic Search FilterandManual Search Filter– both inherit from _Base Search Filter.Search Field– contains a Facet Name field that matches the Coveo field (e.g.,@category,@source).Filter Value– optional helper for predefined values.Search Results– inherits from a template with the title field.
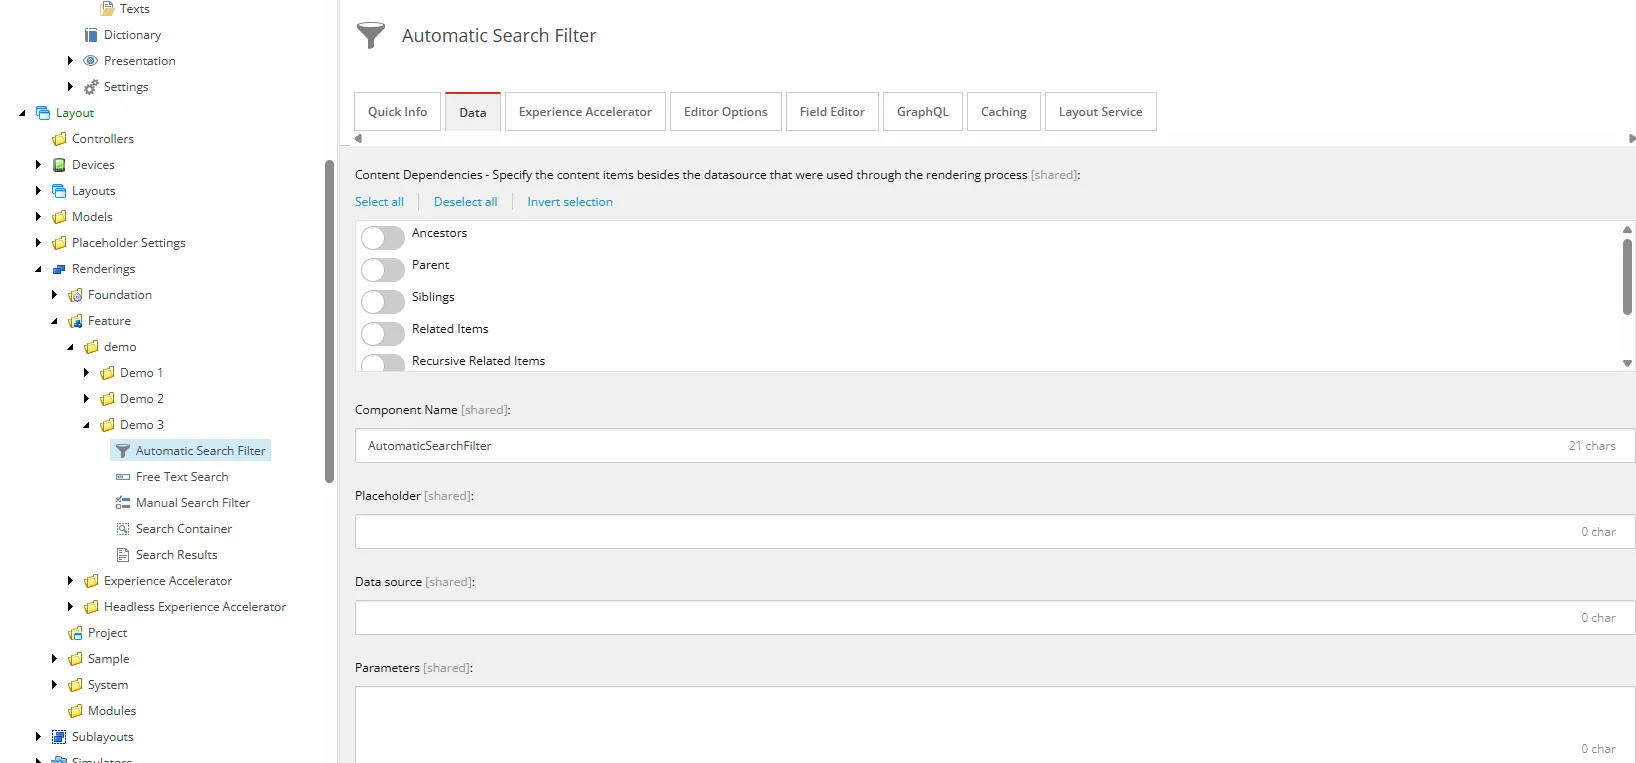
In /sitecore/layout/Renderings/Feature/demo/Demo 3, we have:
- Search Container – defines two placeholders: Filters (accepts search filter components) and Search Main (accepts search results).
- Automatic Search Filter – contains a GraphQL query to fetch its title and facet from the data source.
- Free Text Search - The search box for Free Text Search
- Search Results – the component to contain the search results.
React Architecture
Just like the tag-based item listing pattern, we use a context provider to store and share search state between components.
The Context and Provider
The SearchContext exposes the Coveo headless engine, the list of fields to include, and an optional result template. The SearchProvider component initializes the engine and wraps all search-related components so they share the same state.
Automatic Search Filter
This component fetches its facet name from the data source and binds it to a Coveo facet controller.
Whenever a value is toggled, it updates the search state and the results in the Search Results component refresh automatically.
Free Text Search
This component uses Coveo’s search box controller to update and submit queries.
It’s placed in the Filters placeholder so editors can add or remove it like any other rendering.
Search Results
Executes the first search when the page loads and renders the results using either a default or custom result template.
Supports pagination and “load more” functionality.
Editor Experience
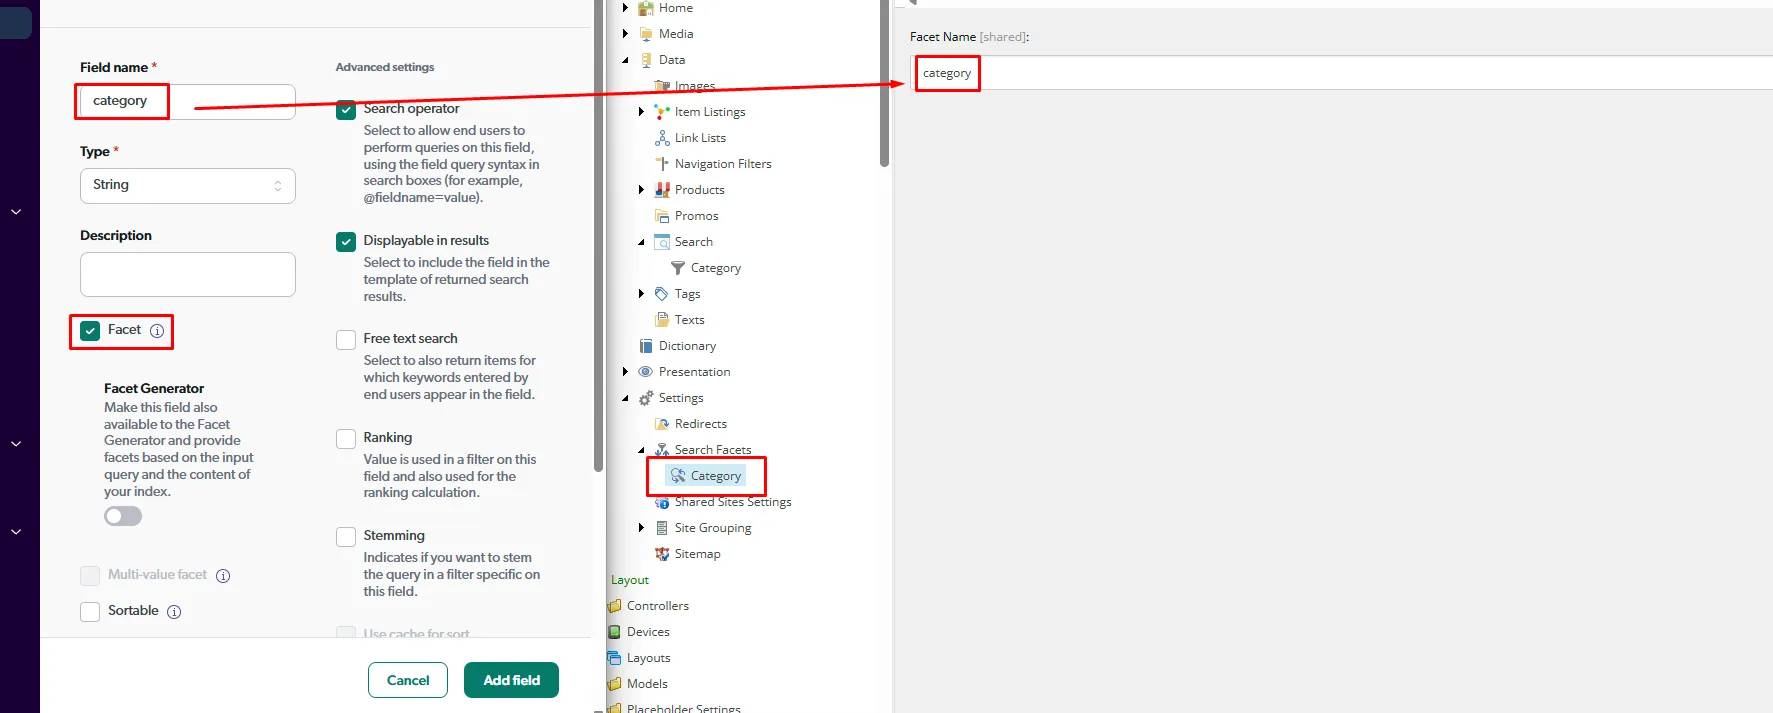
- In site settings, create Search Field items under Search Facet Folder.
- Create Automatic Search Filter data source items pointing to those fields.
- On a page, add the Search Container.
- In the Filters placeholder, add any combination of Automatic Search Filter and Free Text Search components.
- Add the Search Results component to the Search Main placeholder.
Why This Works
This approach keeps the search configuration in Sitecore, where authors can easily change facets and filters, and the search logic in React, where developers can manage state and performance optimally.
It’s flexible enough to swap out result templates, add new filters, or update facet configurations without redeploying code.
Conclusion
With this setup, we’ve brought Coveo Headless into XM Cloud in a way that’s easy for editors to manage and simple for developers to maintain.
All of the code for this example is available in my GitHub repo under the demo-3 folder